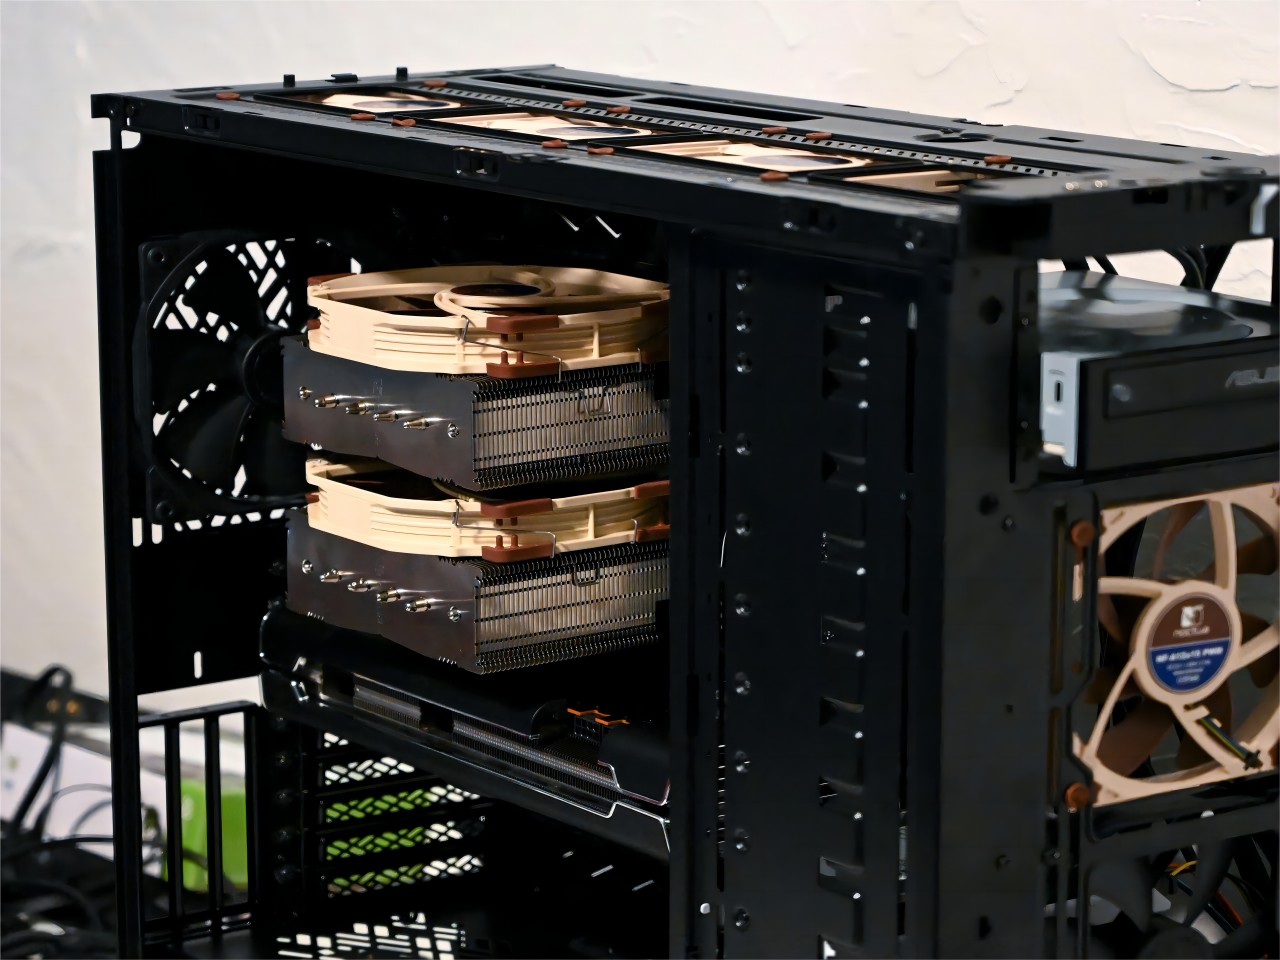
Assuming you already know how to build a custom PC it can be an incredibly satisfying process, with each component of your PC setup just how you like it. Step 3: Building it – So this is the most important part of the entire build, putting everything together and is absolutely necessary if you want your build to work and be useful.
Step 1: Set up your workspace
Prepare a large static-free and clean workspace before going further with the assembling. Get all your parts, tools, and a grounding wrist strap to avoid static discharge.
Step 2: Installation of CPU
Carry on with the motherboard outside of the case for easy access:
- Unlock the CPU Socket: Open the lever pin Lock of the CPU socket.
- Place the CPU NOTCHES aligned with the socket. Carefully set the CPU into the socket without any force.
- Lever the CPU (Make sure CPU is locked ).
Step 3: Install CPU Cooler
If you have a stock cooler, it depends on if the thermal solution is an aftermarket one:
- Clean and Apply Thermal Paste: If your cooler does not come with pre-applied thermal paste already, clean the CPU, and apply a dab of thermal paste in the center.
- Secure the Cooler: Now that we have installed the cooler on the CPU, secure it thoroughly according to the manufacturer’s instructions, making sure that it’s nice and snug evenly.
Step 4: Installing RAM
- Release the RAM Slots: Press outward on the clips holding the RAM slots.
- Stick the RAM Sticks: Align the notch on the RAM Sticks with the Rail and press them down firmly until the clip catches up the Rail.
Step 5: Motherboard Install
- Setup Standoffs: Install standoffs into the case where the motherboard fits.
- Install the I/O Shield: Slide the I/O shield in place into the case.
- Install the Motherboard: Gently lay the motherboard into the stand-offs and screw it in.
Step 6: Install the Power Supply (PSU)
- Secure the PSU: Place the PSU in the correct location (usually at the bottom rear of the case), and fasten it down with screws.
- Connect PSU Cables: Push power cables (24-pin for motherboard, 8-pin for CPU, etc) through applicable case openings.
Step 7: How to install storage drives
- Install Drives: Install your SSD or Hard Drive into the drive bays and secure with screws or tool-less mechanisms.
- Connect Power Cables and Data Cables: Connect SATA power as well as the data cables of the drives to the motherboard.
Step 8: Installing the GPU
- Remove Expansion Slot Covers – Remove the appropriate slot covers from the back of the case.
- Put the GPU: Insert the GPU at the same time that it is on the PCIe slot, pressing down strongly until it snaps.
- Secure the GPU – Screw the GPU bracket to the case.
Step 9: How to connect front panel connectors in the case
Check your motherboard manual to properly connect the power switch, reset switch, power LED, HDD LED, and front panel USB/audio connectors.
Step 10: Cable Management
Clean cable management = more airflow and a cleaner look.
- Route Cables: Route cables using channels built into the case and many tie-down points.
- Safeguard Using Zip Ties: Tie the over cabling in a bundle using zip ties.
Step 11: Final Checks
- Verify Connections: Make sure you have all of your parts and that all wires are connected correctly.
- Power On: Turn on the power switch, plug in the PSU and press the case power button.
Nice if you see any BIOS screen after turning it on you’ve made your own PC. Hopefully, following these step-by-step instructions will let you have a relatively painless and fun experience putting this together. Happy building!


Leave a Reply