
One of the most powerful methods of getting better performance out of your hardware, particularly your CPU and GPU is overclocking. It needs to be done very carefully, you can not afford to fry your components. Before we start, we would like to remind you that this is a ground-up guide on how to overclock both your CPU and GPU safely.
What is Overclocking?
Overclocking is the process of pushing the clock speed of your CPU or GPU beyond its rated stock clock to get better performance. All of this can help improve the performance of games and apps, but also means more energy used and more heat generated, which will necessitate the correct cooling and monitoring.
Preparing for Overclocking
1. Research and Planning
Learn your Hardware: You need to know what CPU and GPU you have and then base/boost clock of that CPU, what the maximum recommended safe overclock is. For your equipment, look up the specifics on online forums and reviews.
Ensure You Have Good Cooling: Be certain to provide adequate cooling for your PC. Overclocking will make the CPU hotter, and proper cooling is absolutely needed to avoid overheating. In this case, upgrade to a powerful air cooler or liquid cooling system.
2. Software Tools
CPU Overclocking Software: Utilities such as Intel Extreme Tuning Utility (XTU for enhancing Intel CPUs) and AMD Ryzen Master (for fine-tuning AMD CPUs) make it easy for users.
GPU Overclocking Software: Two of the most popular GPU overclocking software are MSI Afterburner and EVGA Precision X1. These are user-friendly with basic monitoring features.
Monitoring: Use HWMonitor, CPU-Z, and GPU-Z to monitor temps, clock speeds, voltages, etc. Throughout the overclocking process, stability and safety should be maintained by real-time monitoring.
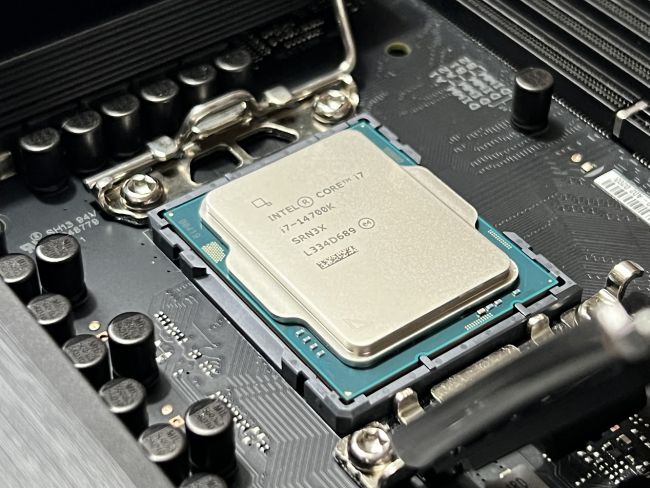
Overclocking Your CPU
1. Accessing the BIOS/UEFI
Access the BIOS/UEFI: Restart your computer and when it boots press repeatedly the BIOS key, the most common it is DEL, F2, or ESC. Your motherboard might have a different key for this operation.
2. Adjusting Clock Speed
Base Clock (BCLK) & Multiplier: This is how you’re going to boost your CPU clock speed, with base clock or multiplier. The more commonly used method is the multiplier method.
Short and Easy: Crank up the speed by 100 MHz to get a more conservative and safer speed. Save and exit the changes and boot into the OS, check for stability.
3. Testing Stability
Stress Testing: Use a stress testing software like Prime95 or AIDA64 to ensure your overclock is stable. Start the stress test and leave it running for at least an hour, paying close attention to temperatures.
Voltage Adjustment: In case of system crash or instability, you may have to add a bit of CPU Core Voltage (Vcore). Be careful with raising the voltage, as higher voltages mean more heat and potential damage to the CPU.
4. Fine-Tuning
Cycle: Increase clocks incrementally, test stability, and adjust voltage accordingly. Seek a balance of performance improvement and thermal purposes.
Temperature Limitations Account: Make sure your CPU temps will not exceed safe limits (usually 85 degrees under load).
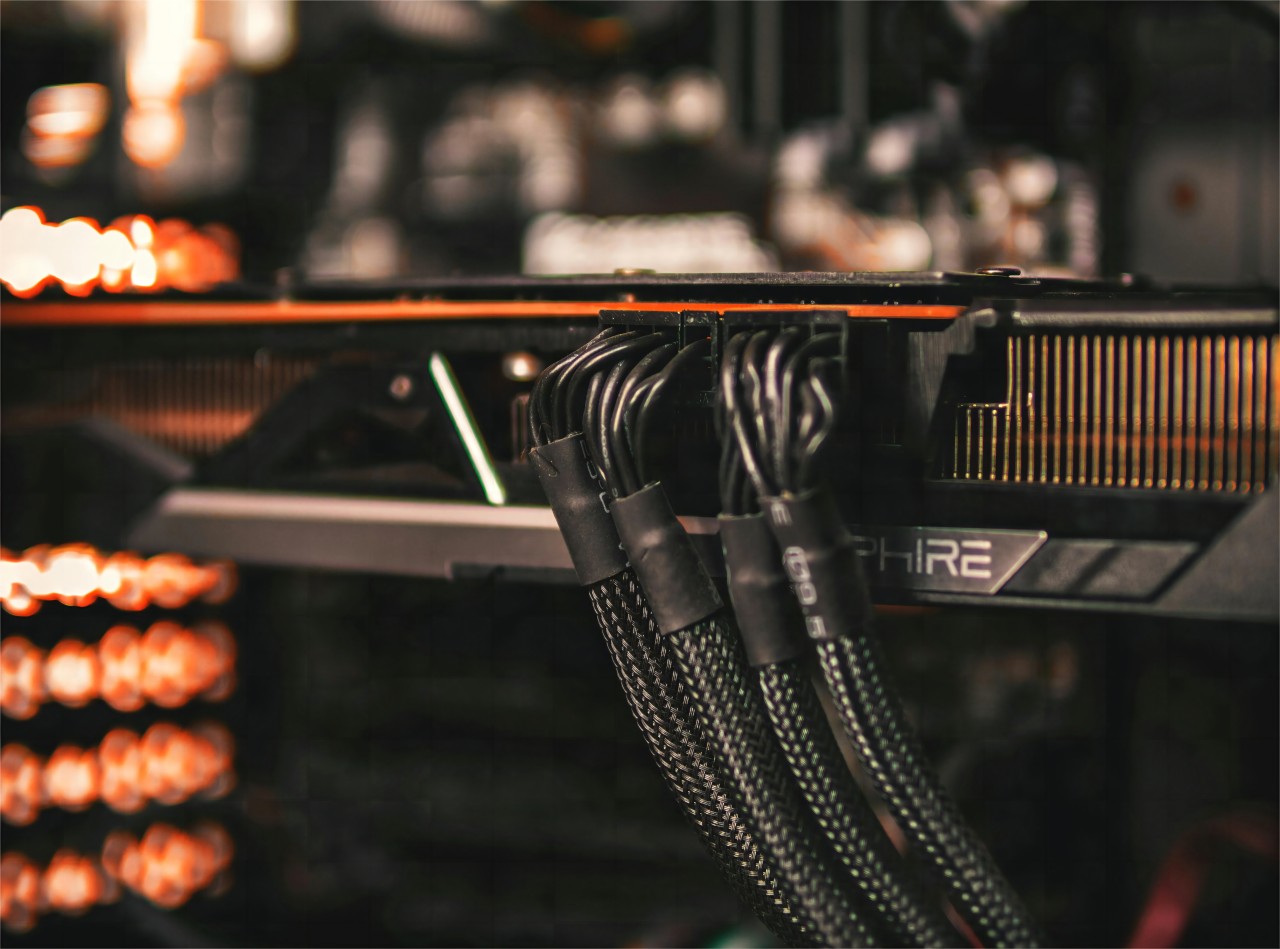
Overclocking Your GPU
1. Software Overclocking With A GPU
Install MSI Afterburner: Click on the following link to download & install MSI Afterburner. A neat tool for overclocking and monitoring your GPU.
2. Modification to the Core and Memory Clocks
Core Clock: Up the GPU Core Clock Speed by a small increment (e.g., 10-20 MHz). Make sure that you apply the new settings and verify the system stability using benchmarks like 3DMark or Unigine Heaven.
Memory Clock: Like the previous benchmark, raise the memory clock slowly and confirm stability.
3. Testing Stability
Benchmarking: Use benchmarking software to stability test your overclock. Monitor for artifacts (visual glitches) and crashes.
Tweak Voltage and Power Limit: You may want to bump up the voltage and power limits slightly if your GPU allows it to achieve even higher overclocks. Watch your balance with these adjustments, so you won’t fry your GPU.
4. Fine-Tuning
Keep an Eye on Temperatures: Make sure your GPU temperature isn’t going out of hand (usually 80°C should be the limit on the higher side even when at play).
Fan Curves: Set up the fan curves in MSI Afterburner to provide the best cooling performance with the least amount of fan noise.
Safety Tips
1. Backup Your Data
Back up important data prior to starting the overclocking process. Note: Overclocking might damage the system and may cause data loss due to system instability.
2. Incremental Changes
Keep making changes step by step! Significant shifts in clock speeds or voltage levels can lead to system instability or damage hardware components.
3. Monitor Temperatures
Keep an eye on those temperatures as you overclock. It might end up burning CPUs or GPUs permanently.
4. Understand the Risks
One note of caution: overclocking can void warranties and potentially shorten the life of components if done improperly. Usage: Enter at Your Own Risk.
Conclusion
By increasing your CPUs and your GPUs (depending on your setup) clock speeds it would become possible to make your system run better which should result in higher possible frame rates while running demanding applications and games. Following this guide and promoting safe overclocking while allowing you to utilize the power of overclocking which results in an increase in performance, you will gain some additional performance than a non-overclocked system. Remember to monitor your system closely and adjust as necessary to maintain stability and temperature limits. Happy overclocking!

Leave a Reply